1. 1. Introduction

The HIV Prevention Tracker is a monitoring tool developed by the Makerere University School of Public Health – Monitoring and Evaluation Technical Support Program (MakSPH-METS), with support from the CDC, to enhance the tracking and utilization of HIV prevention services across service delivery sites in Uganda. Originally launched in 2017, the system leverages the District Health Information System (DHIS2) Framework, a web-based platform with an integrated mobile application, to enable real-time, longitudinal data capture at individual service delivery points. By monitoring client data, the tracker ensures comprehensive program oversight, supporting service layering and data-driven improvements for HIV prevention programs across the country.

2. 2. Background

The development of the HIV Prevention Tracker was motivated by the need for a comprehensive system that aligns with national health management information tools for Key and Priority Population (KP & PP) and Pre-Exposure Prophylaxis (PrEP) programs, as outlined in the HMIS ACP 035 and HMIS ACP 026 guidelines. This system facilitates continuous tracking of service access and utilization through a unique identifier (UI) assigned to each client. By using this UI, the tracker can link clients’ visits across various health facilities and reduce duplication, thereby ensuring a seamless experience for clients accessing services such as ART, PrEP, viral load testing, and preventive supplies like lubricants and condoms.

To further support HIV prevention efforts, the tracker provides a package of essential services for key populations, comprising both primary services that are mandatory and secondary services based on client needs. The system’s real-time functionality allows providers to identify and address service gaps across geographical boundaries, fostering a coordinated approach to HIV prevention. Moreover, the tracker supports monitoring of both prevention and treatment cascades, provides robust data analysis through its inbuilt dashboard, and recently expanded to include Drop-in Centers (DIC) across the country, enhancing its reach and standardizing data capture.

Since its inception, the HIV Prevention Tracker has registered over 1,100,000 individuals, covering diverse population categories. Access to the tracker is carefully controlled, with permission levels ranging from view-only dashboards to editing and deleting rights. With this advanced monitoring system, MakSPH-METS has established a powerful tool for improving HIV prevention service delivery in Uganda.
3. 3. System Requirements

Hardware Requirements

Device Compatibility: Desktop, Laptop, Tablet, Smartphone

Recommended Specifications:

  • Desktop/Laptop: Minimum 4GB RAM, 2GHz Processor
  • Tablet/Smartphone: Minimum 2GB RAM

Software Requirements

Operating System Compatibility:

  • Windows, macOS, Android, iOS

Supported Browsers:

  • Google Chrome (recommended)
  • Mozilla Firefox
  • Safari
  • Microsoft Edge

Network Requirements

Internet Connection: Stable connection required for real-time data entry and syncingMinimum Bandwidth: 1 Mbps (recommended for optimal performance)

4. 4. Access and Permissions

User Roles and Permissions
The HIV Prevention Tracker has multiple user roles with varying levels of access:

  • Administrator: Full access, including the ability to create, edit, and delete records, manage users, and configure settings.
  • Data Entry User: Can view, add, and edit records but cannot delete or manage user roles.
  • M&E User: Can view and extract data for analysis.
  • View-Only User: Can access dashboards and reports but cannot modify any data.

Access Control

  • Access is granted by METS upon a formal request via email from a the IP M&E officers.
  • Each user is assigned a unique username and password to log in securely.
  • Access levels are customized based on role and organizational needs.

Login Instructions

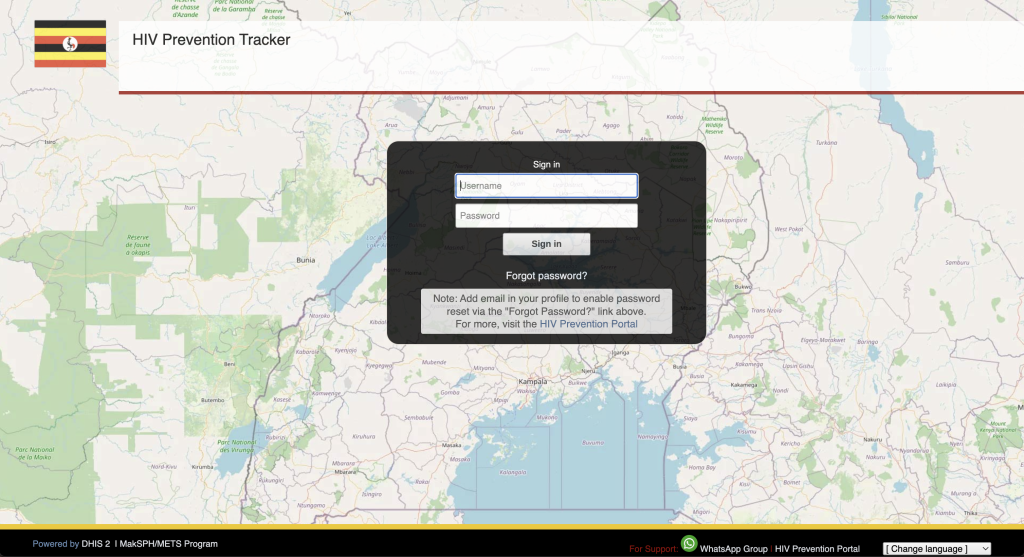
  1. Go to the HIV Prevention Tracker login page via https://prev.mets.or.ug.
  2. Enter your username and password.
  3. Select “Sign in” to access the system.
  4. After login, add email in your profile to enable password reset via the “Forgot Password?” link.
  5. If login fails, verify your credentials or contact your administrator for assistance.

5. 5. System Navigation

Main Menu
The HIV Prevention Tracker’s main interface includes the following sections:

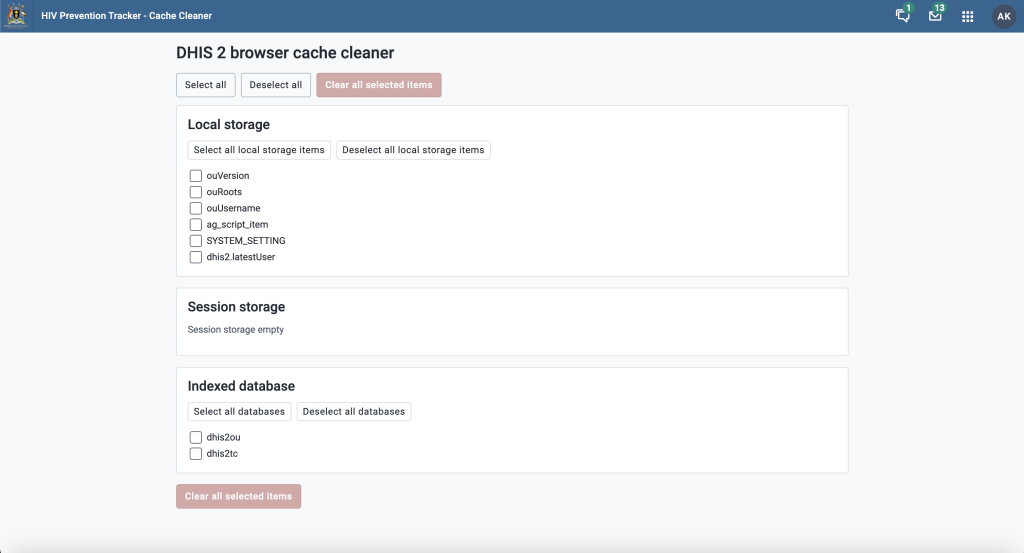
  • Browser cache cleaner:
  • Dashboard: A centralized overview providing real-time data and insights.

  • Tracker Capture: Tools for registering new clients and updating existing records.
  • Event Reports:
  • Pivot Tables:
  • Click on icons or titles to access each module.

    5.1 Editing User Profile

    To edit a user profile in the Tracker, you have a few options depending on your user role and the specific information you want to edit. Here’s a summary of the main ways to edit user profiles:

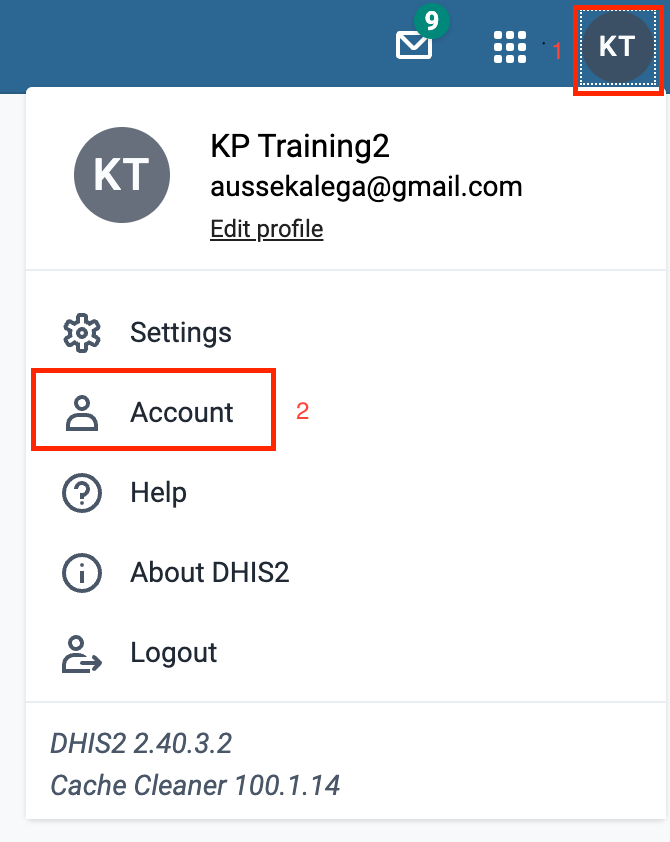
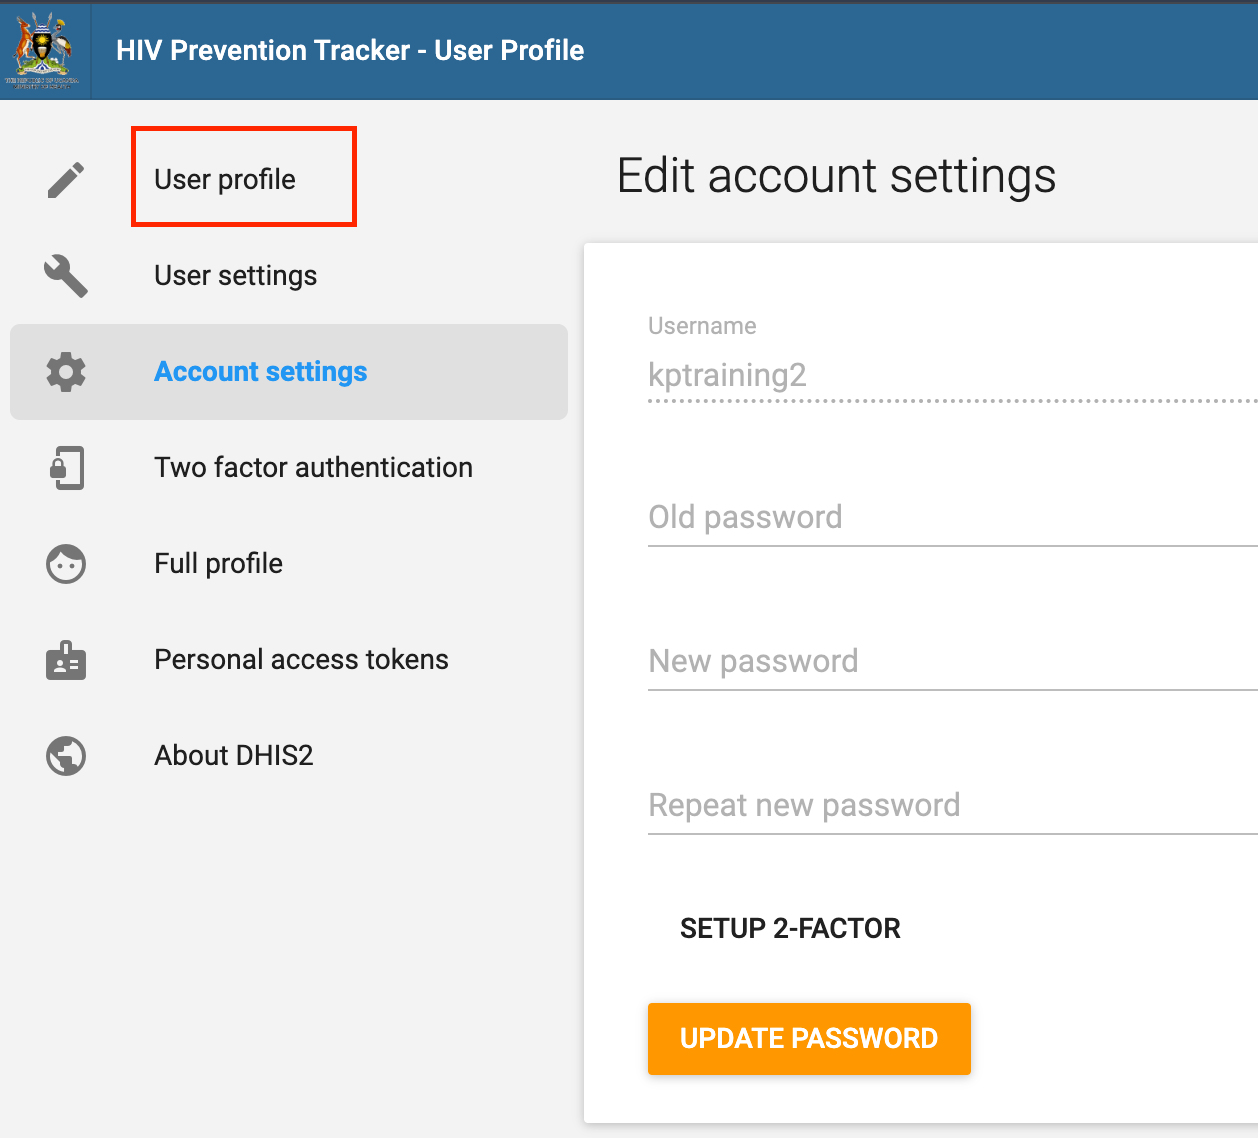
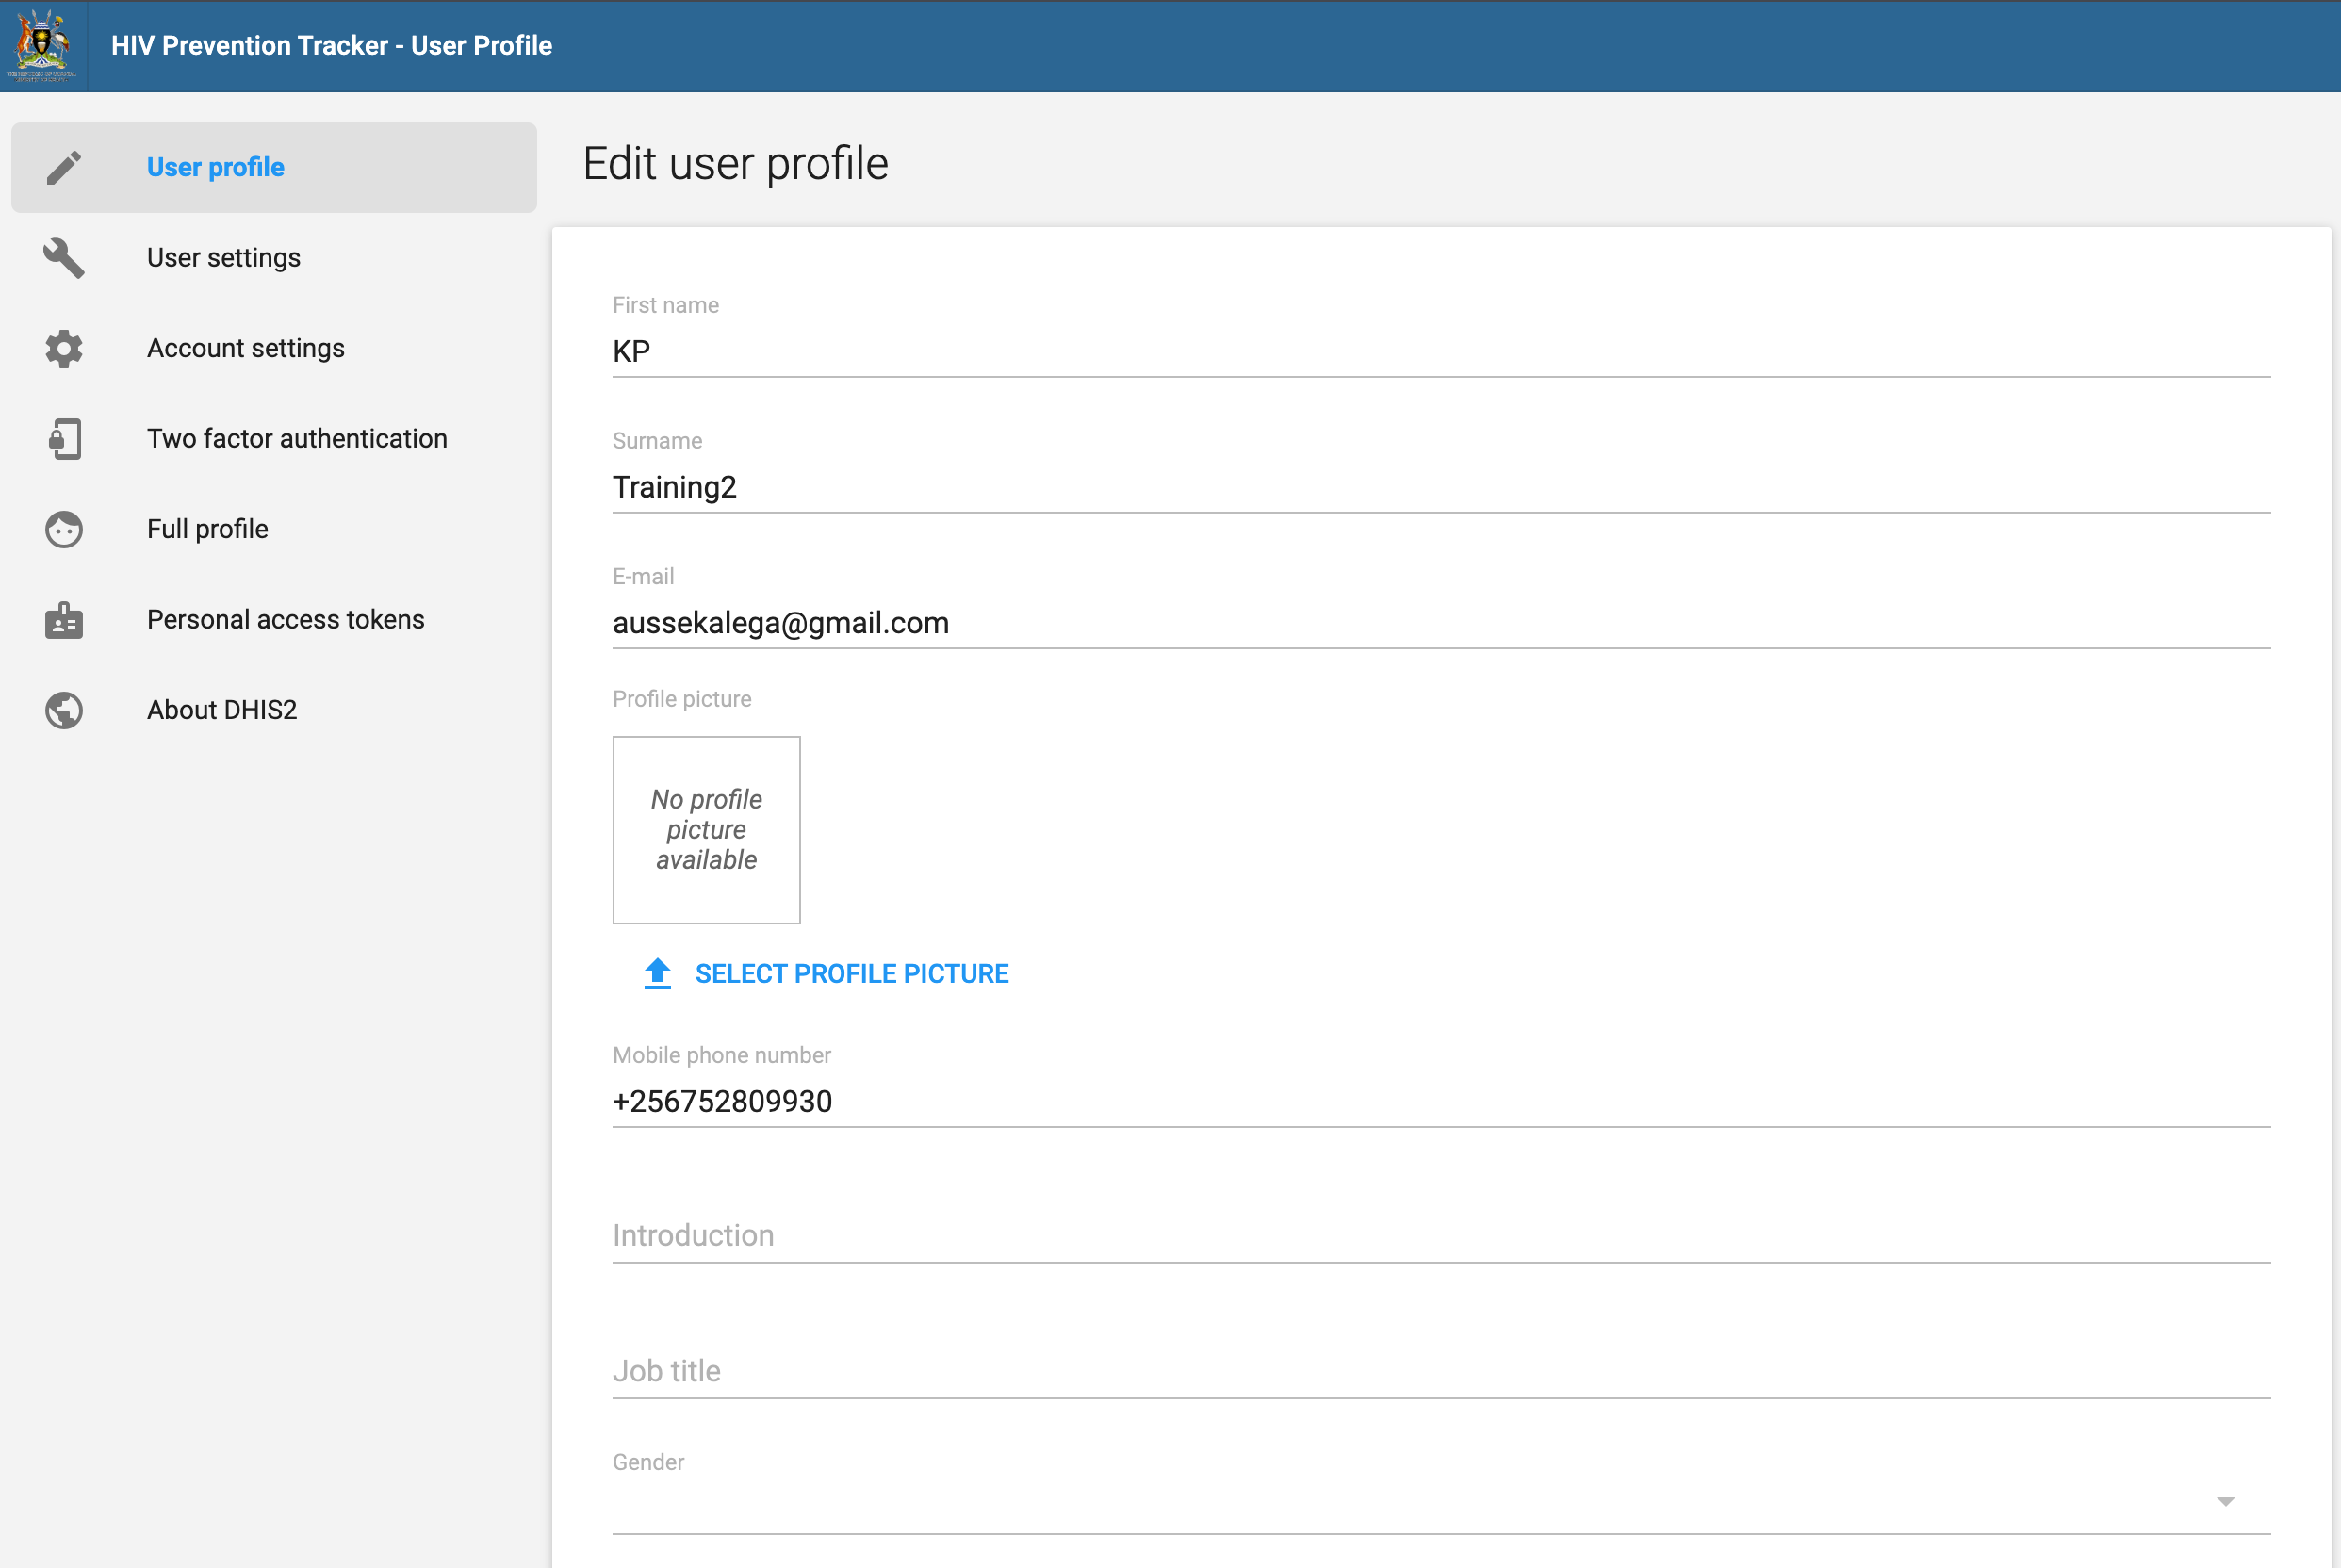
    For users editing their own profile: Users can edit their personal information through the User Profile app. This includes details like email address, mobile phone number, date of birth, profile picture, messaging service accounts among others. To do this:

    Open the User Profile app

    Click on “Account”

    Make the desired changes

    Changes will automatically Save.

    For Account Recovery, visit the Password Reset section.

    6. 6. Client Registration and Unique Identifier Management

    Client Registration Process

    1. Go to the Client Management section.
    2. Select New Client Registration.
    3. Fill in the required fields: Name, Date of Birth, Contact Information, etc.
    4. Generate a Unique Identifier (UI) for the client.
    5. Save the record to finalize registration.

    Assigning a Unique Identifier (UI)

    • Each client receives a system-generated UI, which should be recorded on the client’s card.
    • The UI allows linking visits across the health system and prevents duplication.

    Updating Client Information

    • Search for a client using their UI or other identifiers.
    • Open the client’s profile and make necessary changes.
    • Save the updated information.

    7. 7. Service Delivery and Data Entry

    Recording a Visit

    1. Navigate to the Service Delivery section.
    2. Search for the client using the UI.
    3. Select the appropriate visit type (e.g., ART, PrEP, etc.).
    4. Fill in the service details, including date, services provided, and follow-up actions.
    5. Save the visit to update the client’s record.

    Layering Services

    • The system allows for tracking layered services (multiple services provided per visit).
    • Select all applicable services for a visit to ensure accurate data.

    Editing or Deleting a Service Record

    • Locate the client’s visit record.
    • Choose Edit to make modifications or Delete to remove the visit record (administrator permissions required).

    8. 8. Reporting and Analysis

    Accessing Reports

    • Go to the Reports section.
    • Select from standard reports such as “Monthly Service Delivery” or “Key Population Data.”

    Customizing Reports

    1. Select Custom Report from the Reports menu.
    2. Specify filters such as date range, geographic location, and client demographics.
    3. Generate the report and export it as needed.

    Interpreting Dashboard Analytics

    Use filters to refine data based on time periods, locations, and services.

    Real-time analytics for monitoring service gaps and identifying high-risk populations.

    9. 9. Security and Data Privacy

    Data Security Measures

    • All data is encrypted to ensure client confidentiality.
    • Only authorized personnel can access sensitive client information.

    User Account Management

    • Passwords must be strong and unique, with regular updates required.
    • Inactive accounts are disabled after a specified period for security purposes.

    Data Backup and Recovery

    • Routine backups are performed to ensure data integrity.
    • Contact system administrators in case of data loss or accidental deletion.

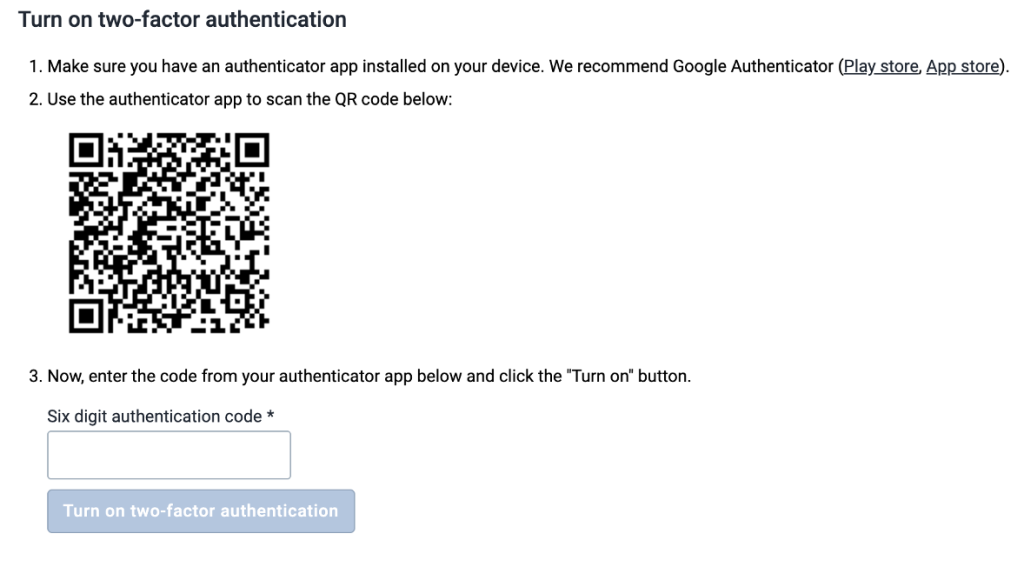
    9.1 Two Factor Authentication (2FA)

    1.Login

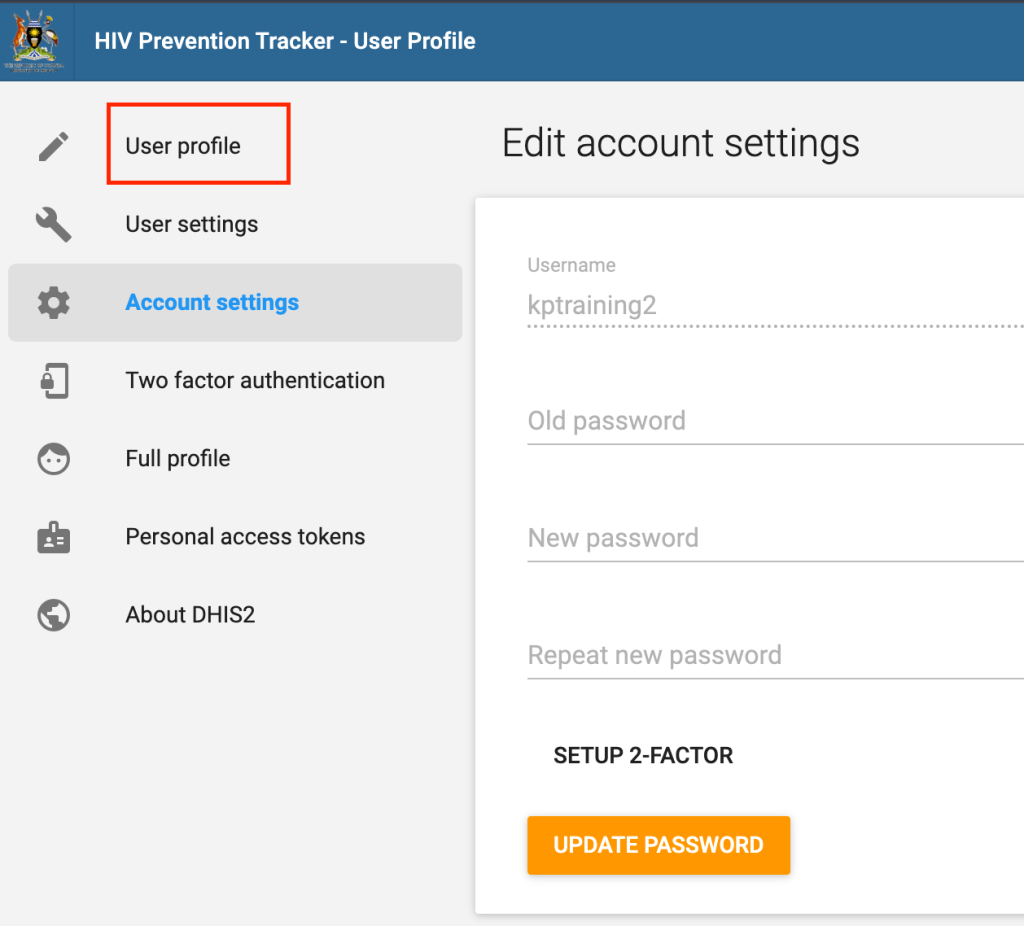
    2.Under User Profile

    3.Account

    4.SET-UP 2-FACTOR

    5.Download the Google Authenticator App click here for Android and here for Apple iOS

    6.Scan QR Code

    7.Enter 6 Code to Activate

    9.2 Password Reset & Account Recovery

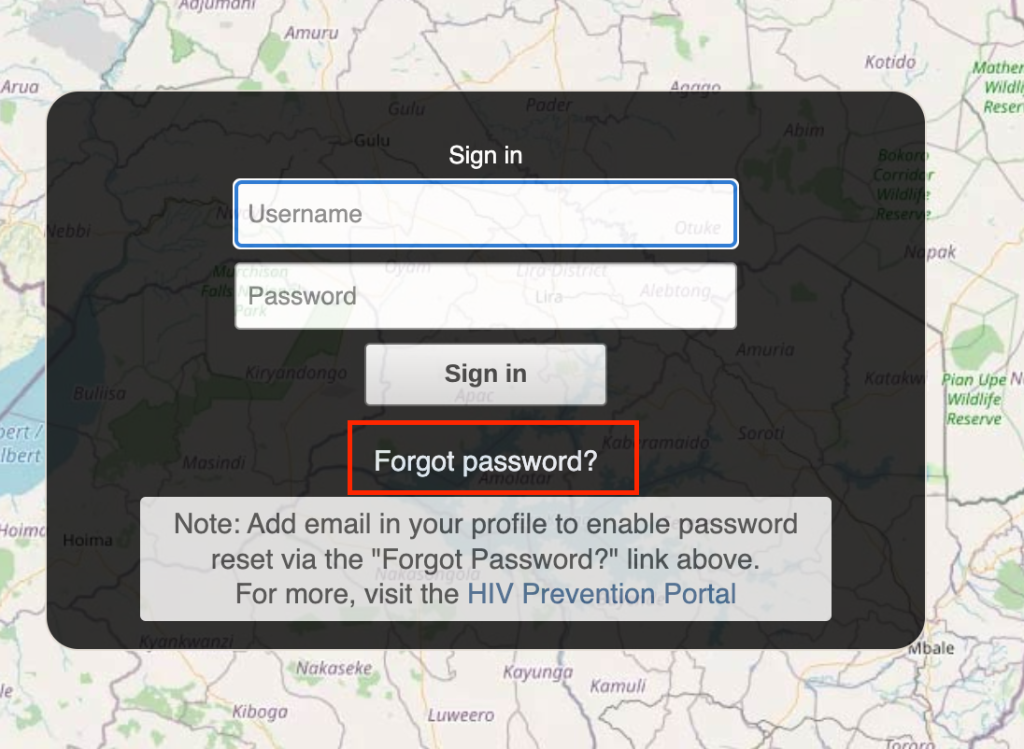
    To reset your password, you must have your email set in the User Profile for recovery notifications:

    On the login Screen, click “Forgot Password?”

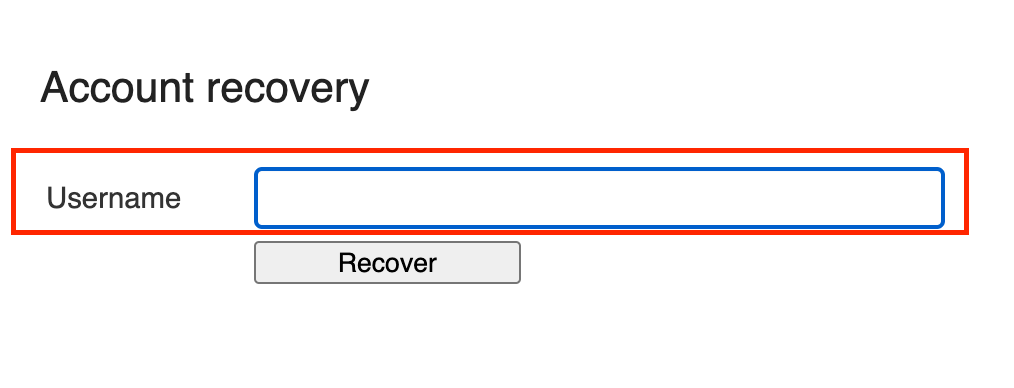
    Fill in your username

    Instructions will be sent on how to restore your password via the email account which you registered for this username (in the “User Profile”).

    Please Note: Make sure to check your “Junk/Spam” folder if the email does not show up in your inbox!

    10. 10. Troubleshooting & Support

    Common Issues

    • Login Errors: Verify username and password, reset if necessary.
    • Data Not Saving: Check internet connection, try again, or contact support.
    • Dashboard Not Loading: Clear browser cache or try a different browser.

    Technical Support Contact Information